Windows 10 Lock Screen Timeout Command Line

How To Change Lock Screen Timeout Before Display Turn Off On Windows 10 Windows Central
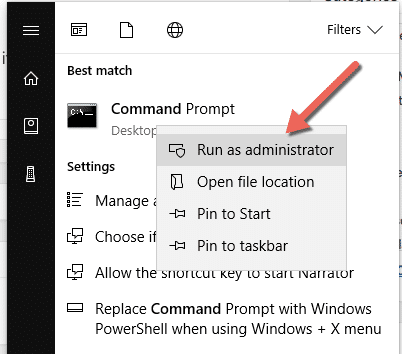
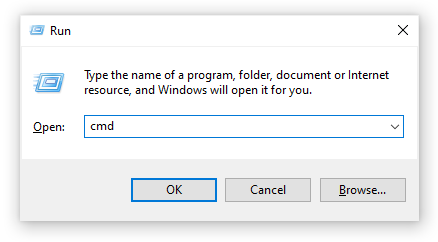
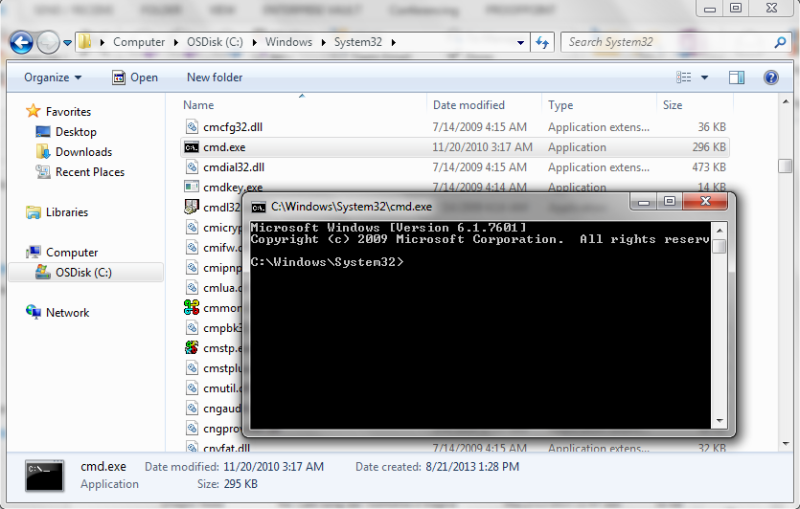
How To Change The Lock Screen Timeout Using Command Prompt
Configure The Lockscreen Display Timeout On Windows Ghacks Tech News
How To Change Or Disable The Lock Screen Timeout On Windows 10

Lock Out Screen After Inactivity Windows 10 Microsoft Q A

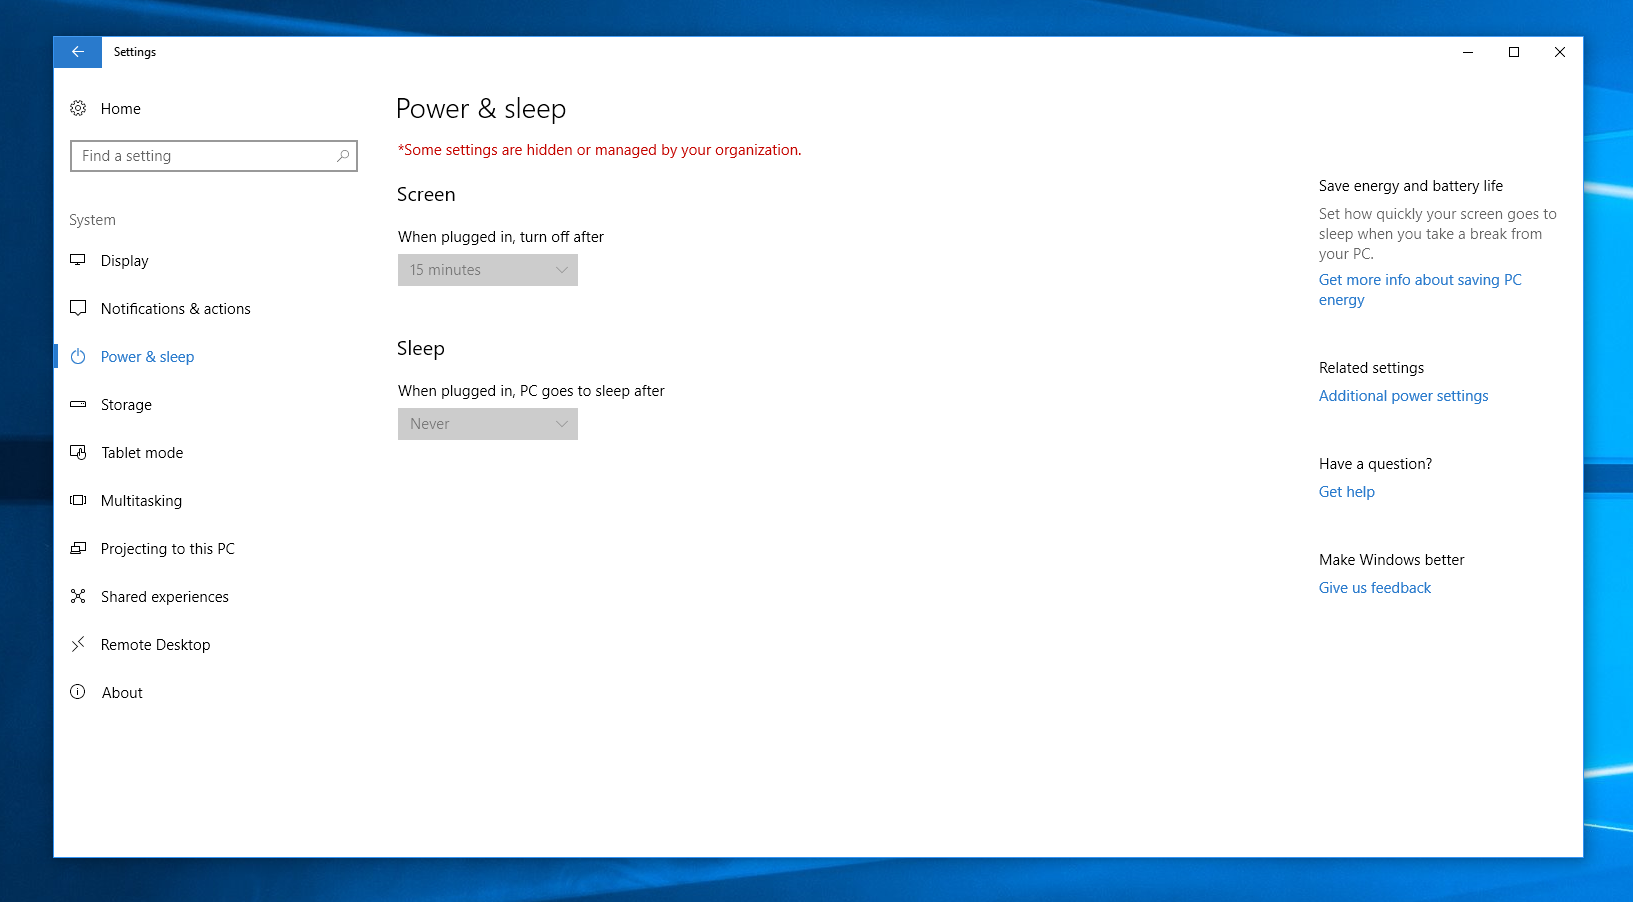
Change Lock Screen Display Off Timeout In Windows 10 Tutorials
While working on a computer you can press the windows l keys to lock the screen.
Windows 10 lock screen timeout command line.

Windows 10 Update Kb4345421 Causing File Systems Error 2147279796 Filing System Windows Windows 10
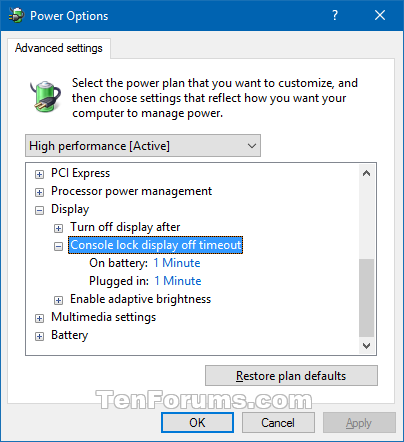
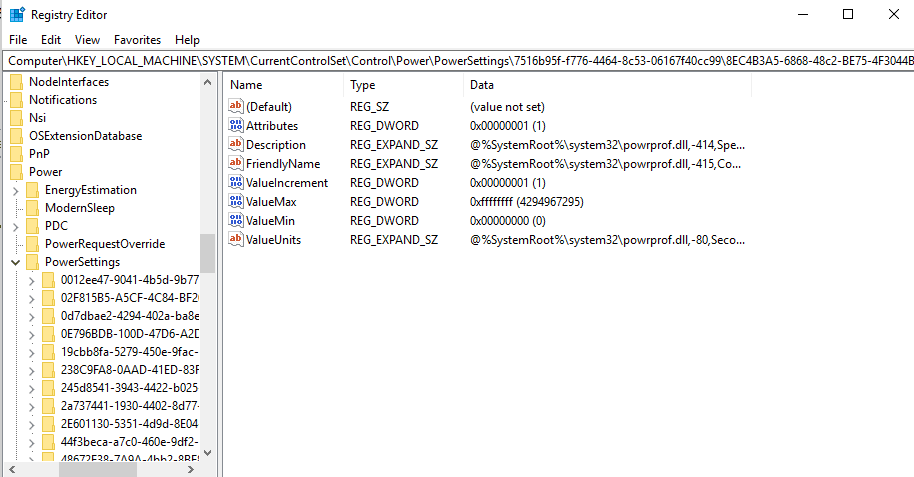
Add Console Lock Display Off Timeout To Power Options In Windows 10 Tutorials

2 Ways To Change Windows 10 Lock Screen Timeout
Bypassing The Windows Lock Screen Hackaday
Source : pinterest.com
